Wilding Wallbeds Bed Builder
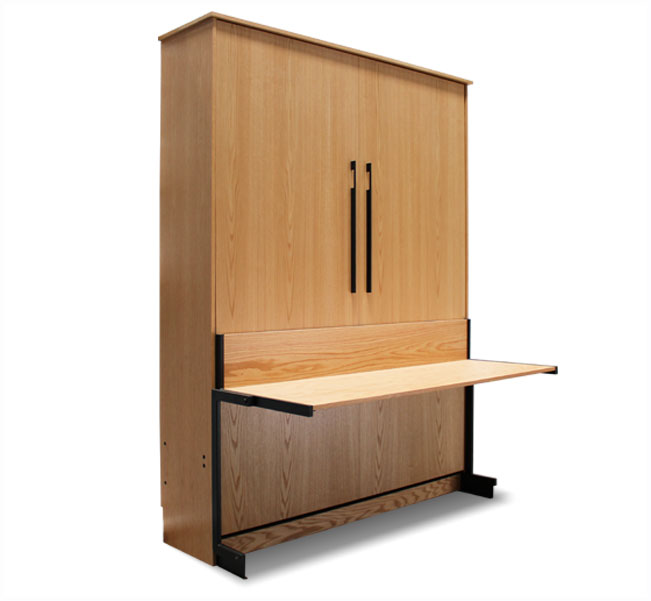
Wilding Wallbeds is excited to announce the launch of their online Bed Builder. This project has been in the works for over three years and has gone through many iterations and countless hours of testing. As of June 10, 2019 the bed builder is active on all of the Studio Series and HomeFront Series Wall bed webpages. This feature allows you, the customer the ability to design, quote, get dimensions for, and order a Wilding Wallbed in your very own custom configuration. Never before have you been able to order a custom Wilding Wallbed directly from the website. The bed builder was designed to be easy to use, informative, and fun to play around with. This blog will walk you through the Bed Builder and teach you how to use it to get your own custom quotes, designs, request follow-up, and place orders.
Opening The Bed Builder
The Bed Builder is found in the top right-hand corner of all of our Studio Series and HomeFront Series product pages. From the Homepage of the website you would simply select “View Styles”, then select “Murphy Beds”. From there you can click on the style you like and it will bring you to the product page. In the top right-hand corner of the page, there is a golden button that reads “Design Your Bed in 5 Steps”. Clicking on the button will open the bed builder, from there you simply click “Configure Your (Bed Style) Now”. If you selected the Presidential II product page, then the button will read “Configure Your Presidential II Now”. If you selected the Dakota product page, then it will read “Design Your Bed In 5 Steps”.

Basic Layout and Functions
With the Bed Builder now open, you can see the layout and function. Across the top, the 5 steps are listed, and the step you are on is highlighted in gold. Those steps across the top can also function as buttons to switch between the steps. In the top right-hand corner is a white “X” this hides the bed builder on the page if you click “Design Your Bed in 5 Steps” it will open the Bed Builder again, and bring the custom design you were working on back up. You can open and close the Bed Builder without losing your place. The right-hand side shows the blueprints for your bed. It shows a line drawing as well as the dimensions. As you select different options it changes the drawing accordingly. Just beneath the blueprint, you have a “Back” button that will take you back to the previous step, a gold “Next” button that will take you to the next step, and the price. The price is also dynamic and changes with the options you select.
The body of the bed builder has the instructions for the step, and the options to be selected. The options are selected by clicking on the radio buttons to the left of the listed options. When an option is selected the radio button is gold. At the bottom of the Bed Builder, to the left of the “Back” button is a list showing the size, wood, stain, and depth that you have chosen. The wood and stain are both listed, and a picture is shown to help remind you. These can also be clicked on to navigate through the steps.
You are probably not familiar with all of the options that Wilding Wallbeds offers. For this reason, there is an Information button next to each of the options. The button is a small grey circle with a lowercase “i” in it. If the information button is selected a pop-up appears with a brief description of the option, as well as photos and videos that are applicable to the option. The information tab is closed by either clicking the golden “Close” button in the bottom right or the gray “X” in the top right.
The Five Easy Steps
The Bed Builder is broken down into five easy steps. The navigation of these steps is explained in the previous section.
Step 1 Size
Step 1 is where you select the size of bed you are looking for. The sizes that the bed is available in are listed with radio buttons. Simply click the size you want. Queen is the most common size, so it is automatically selected and the price displayed is the Queen Size price until a different size is selected. Once you have made your selection hit “Next”

Step 2 Finish
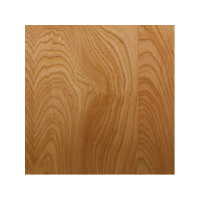
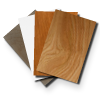
Step 2 is where you make your wood species and your stain color selections. The 6 wood types are shown and listed. Alder is the most popular wood so it is automatically selected. You can determine which wood type is selected by the black box that appears around it. Information about each of the wood types is found by clicking on the Information button.
Below the wood types it reads “Choose your finish”. This is where you select the stain color you are interested in. The stains are shown on the wood you have selected, so if you change the wood type you will notice that the pictures of the stains change as well. You will also notice a large strip of wood has appeared next to the blueprint. This is an enlarged photo of the wood and stain you have selected. This is only visible on the “Step 2” page, but a smaller image is found at the bottom of the Bed Builder which remains through the remaining steps.

*The stain choices listed on the Bed Builder are not the only ones available. For additional colors, you simply need to call Wilding Wallbeds (866) 877 7803.
Step 3 Options
Step 3 is where you select your desired bed options. The options listed include the headboard/wall bed depth, the Light System, the power outlet, and the desk/ tables. Only the options available on your bed will appear, and you will find that selecting the “Deep” or “Storage” headboards allows you to select the power outlet.
Next to each of the options is the price. The price is dynamic based on which options you have selected, it indicates how it will affect the total price. For instance, if you select the “Deep” headboard it changes the price of the “Storage” headboard to reflect the difference, and it shows that the “Standard” headboard is a negative price. This is because selecting the “Standard” headboard will lower the price.
You will notice that most of the options offered on this step don’t change the blueprint, this is because they are internal and are not visible when looking at the face of the bed. The only exception to this is the desk/ table options which do alter the face of the bed and are apparent on the blueprint.

Step 4 Side Cabinets
Step 4 is where you select the side cabinets. The step begins with the left-hand cabinet. This is the left side as you stand facing the bed. You select the type of cabinet (bookcase, 3 drawer, door and drawer, wardrobe, etc.), the width of the cabinet, and you can add a slide-out night tray to the cabinet. You can also select “No Cabinet” if you don’t want a cabinet on the left side of the bed. The button in the bottom right of the Bed Builder reads “Next Right Cabinet” selecting this will take you to the right-hand side cabinet. This is the right side and you stand facing the bed. You once again select the type, width, and can choose to add the slide-out night tray.

The wardrobe cabinets are only available with the “Deep” or “Storage” headboards. If you select a wardrobe cabinet and you have selected the “Standard” headboard a box will pop up saying “This wardrobe can only be selected with the “Deep” headboard option. Would you like to switch to the deep headboard?”
Step 5 Mattress
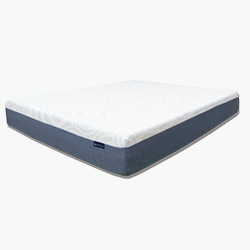
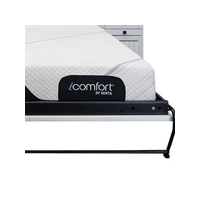
Step 5 is where you select the mattress you would like. There are images and descriptions of each of the mattresses, so you can choose the one that will best fit your needs. The mattress selection won’t change the blueprint, as the mattress is not visible on the blueprint but it will change the price. Once you have selected the mattress click the “Next” button in the bottom right.
*The mattresses listed on the Bed Builder are not the only ones that are available. If you would like a different mattress simply call Wilding Wallbeds (866) 877 7803.

Follow-Up, Saving, and Ordering
Once you have completed the five steps of the Bed Builder it will take you to a page with your quote, your wood/ stain selection, and the blueprint. Along the bottom of the Bed Builder, you have the option to “Request Follow-Up”, “Print Design”, or “Add to Cart”. Requesting follow-up will have you enter your name, email address, and phone number, as well as any comments or questions you have. Doing this will send an email of the quote and drawing to you, and to the Wilding Wallbeds team where someone will reach out to you shortly to answer any questions, or help you order if you prefer over the phone. If you select “Print Design” it will allow you to print the quote and blueprint, or to save it as a PDF on your computer. Selecting “Add to Cart” will add the unit to your shopping cart where you can complete the online purchase.


 Written by
Brandon Wilding
Team Leader
St. George Showroom
